
Knock, Knock. The Making of the short film. "successes"
- William Stokes
- Jun 2, 2025
- 4 min read

Updated: Dec 4, 2025
Above is my micro short-film Knock,Knock for if you haven't seen it already. The following blog post outlines the planning and production of the film and my process of making the film.
This was shot, edited and uploaded to youtube within the space of a day. However the pre-production lasted at most two weeks, yet started from a strange palce.
This originally came from discovering what T-stop lenses were and then saying, 'I want one of those.' So I did what anyone does in that situation about bought myself one, a 35mm.
However you may of read the title of the short film and seen it's a len's test for a 14mm.
Because it's exactly that! A short film shot on one lens, the Samyang 14mm T3.5 lens*.
Whist looking into the Samyang T-Stop range I also searched everyones favorite, eBay, and found a few 14mm and decided, I fancy one of these. Then whilst researching online looking for video's and photo's taken with this len's and finding the bare minimum I decided to go for it and buy one. Thus, planning began for a short film.
The first shot to my mind? The fish eye, though the keyhole look.
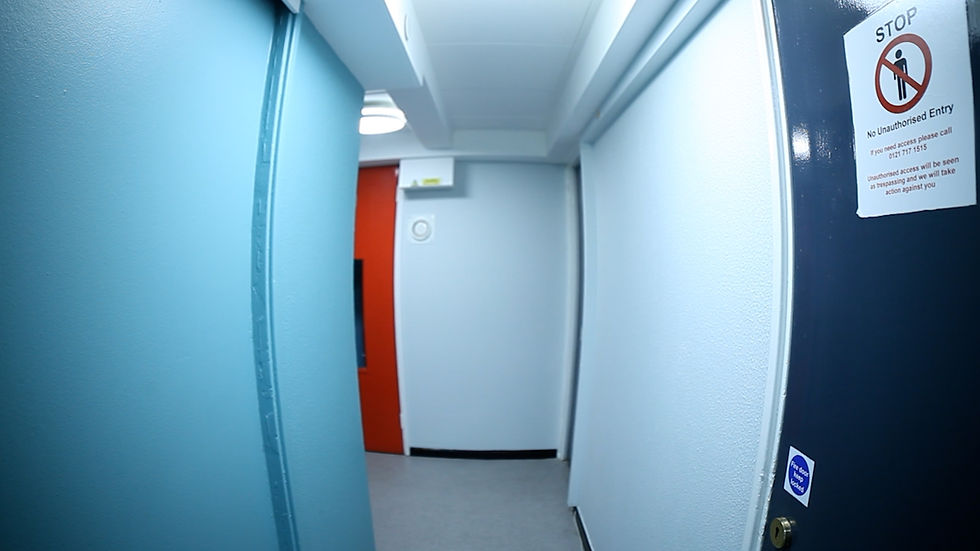
The second Idea I had was a tracking, stedi track down the hallway, which lead to other issues which I ignored for a couple of day's until I had the rest of the plan in action (I'll get to this issue later). In total I had 9 shots, which when planning progressed turned into 8 shot's due to two of the shots being the same with a cut between them.
My issue or blessing?
It was half term! My children were off from school, I couldn't film with them running around being noisey and cute!
So I did the next best thing.
Actually sat down and planned it out propperly. I drew maps of the location, added the camera position then added light's to the map's too. Just to make the flow of the shoot go smother and easier. As I was doing this all alone I wanted to make the inbetween takes as smooth as possible with planning, a simple.
"Shot 3, done. Okay, and now this light can stay there. Great! Now if I move this one here and put the camera here and we're golden!"
This also influenced the order in which shots were taken. Influenced by the least amount of movement between shot's.
Take playing open chords on a guitar, it's easier to move between a D and a G chord than it is between a D and an E chord.*2

Once the shooting order was dictated by finsing the easiect path, there was a bit of a waiting game until the following Monday morning where the kids would be sent off to school.
Which my Wife happily obliged allowing me to set up lights in the hallway and shoot two shots which don't feature her. These being the external shot of the front door and the slow pan towards the door itself.
The slow pan was for want of a better word, 'sketchy'. As the most condenced my smallest tripod could close whilst still standing on it's own on a skateboard, wasn't really something you could turn your back on.
I did this shot 3 times before deaming it dangerous and going with the second take, as it turned out to be the one. Also during the 3rd take, the camera took a wobble and nearly distroyed itself by smashing itself on a food processor. Which would of put a bit of a downer on the production.
Then from this point on the rest of the process was fairly straight forward, we had a short window to get this filmed in one day, due to having to collect my daughter from Nursary in the early afternoon.
Appart from that issue I've ignored until now.
How can I get a stedi shot without a stedi cam or any other type of gimbal or give in a go for Warp Stabalizer and hoping for the best?
Simple!
Experiment and try everything. The first technique I tried was have the camera on my smallest tripod, and hold onto the tripod itself whilst moving the camera through the scene. Yet there was still a 'Bang' with the impact of every footstep. So I tried the 'Camera strap' technique, where I wrapped it around the camera body and len's and that hand's free approach kept it stedy... It may work for some types of shots but for what I was doing "Tooting my own horn' it wasn't effective.
I then went for the 3 points of contact on the camera. This means, both hands, thats two points of contact. Then the 3rd? the camera strap. Pull it away from your body and keep it tought, thatway, it acts as a 3rd point of contact.
There may of been more but these were the main techniques which stuck out to me. This also lead to some repatition and almost dance like movement's whilst tracing the shot over and over.
In Conclusion?
These were some of the main steps in making this micro-film. In later blog posts I will dedicate them to one soul subject and break these down in one article. Such as my approach to the shot list, and picking its shooting order for an easy flow of motion.
I could mention blocking and lighting, yet this will be best saved for a blog post of it's own.
Thank you for reading.
If you learnt something, or wold like to leave any feedback, please don't hesatate to comment below.
Cheers.
Will.
*Not an advertisement by the way I just have Jeremy Clarkson's voice in my head as I type as it is apparently going to keep you ingaged.
*2; This is the process in which my brain related the lighting and camera on paper to chord finger movement on a guitars fretboard.

Comments